


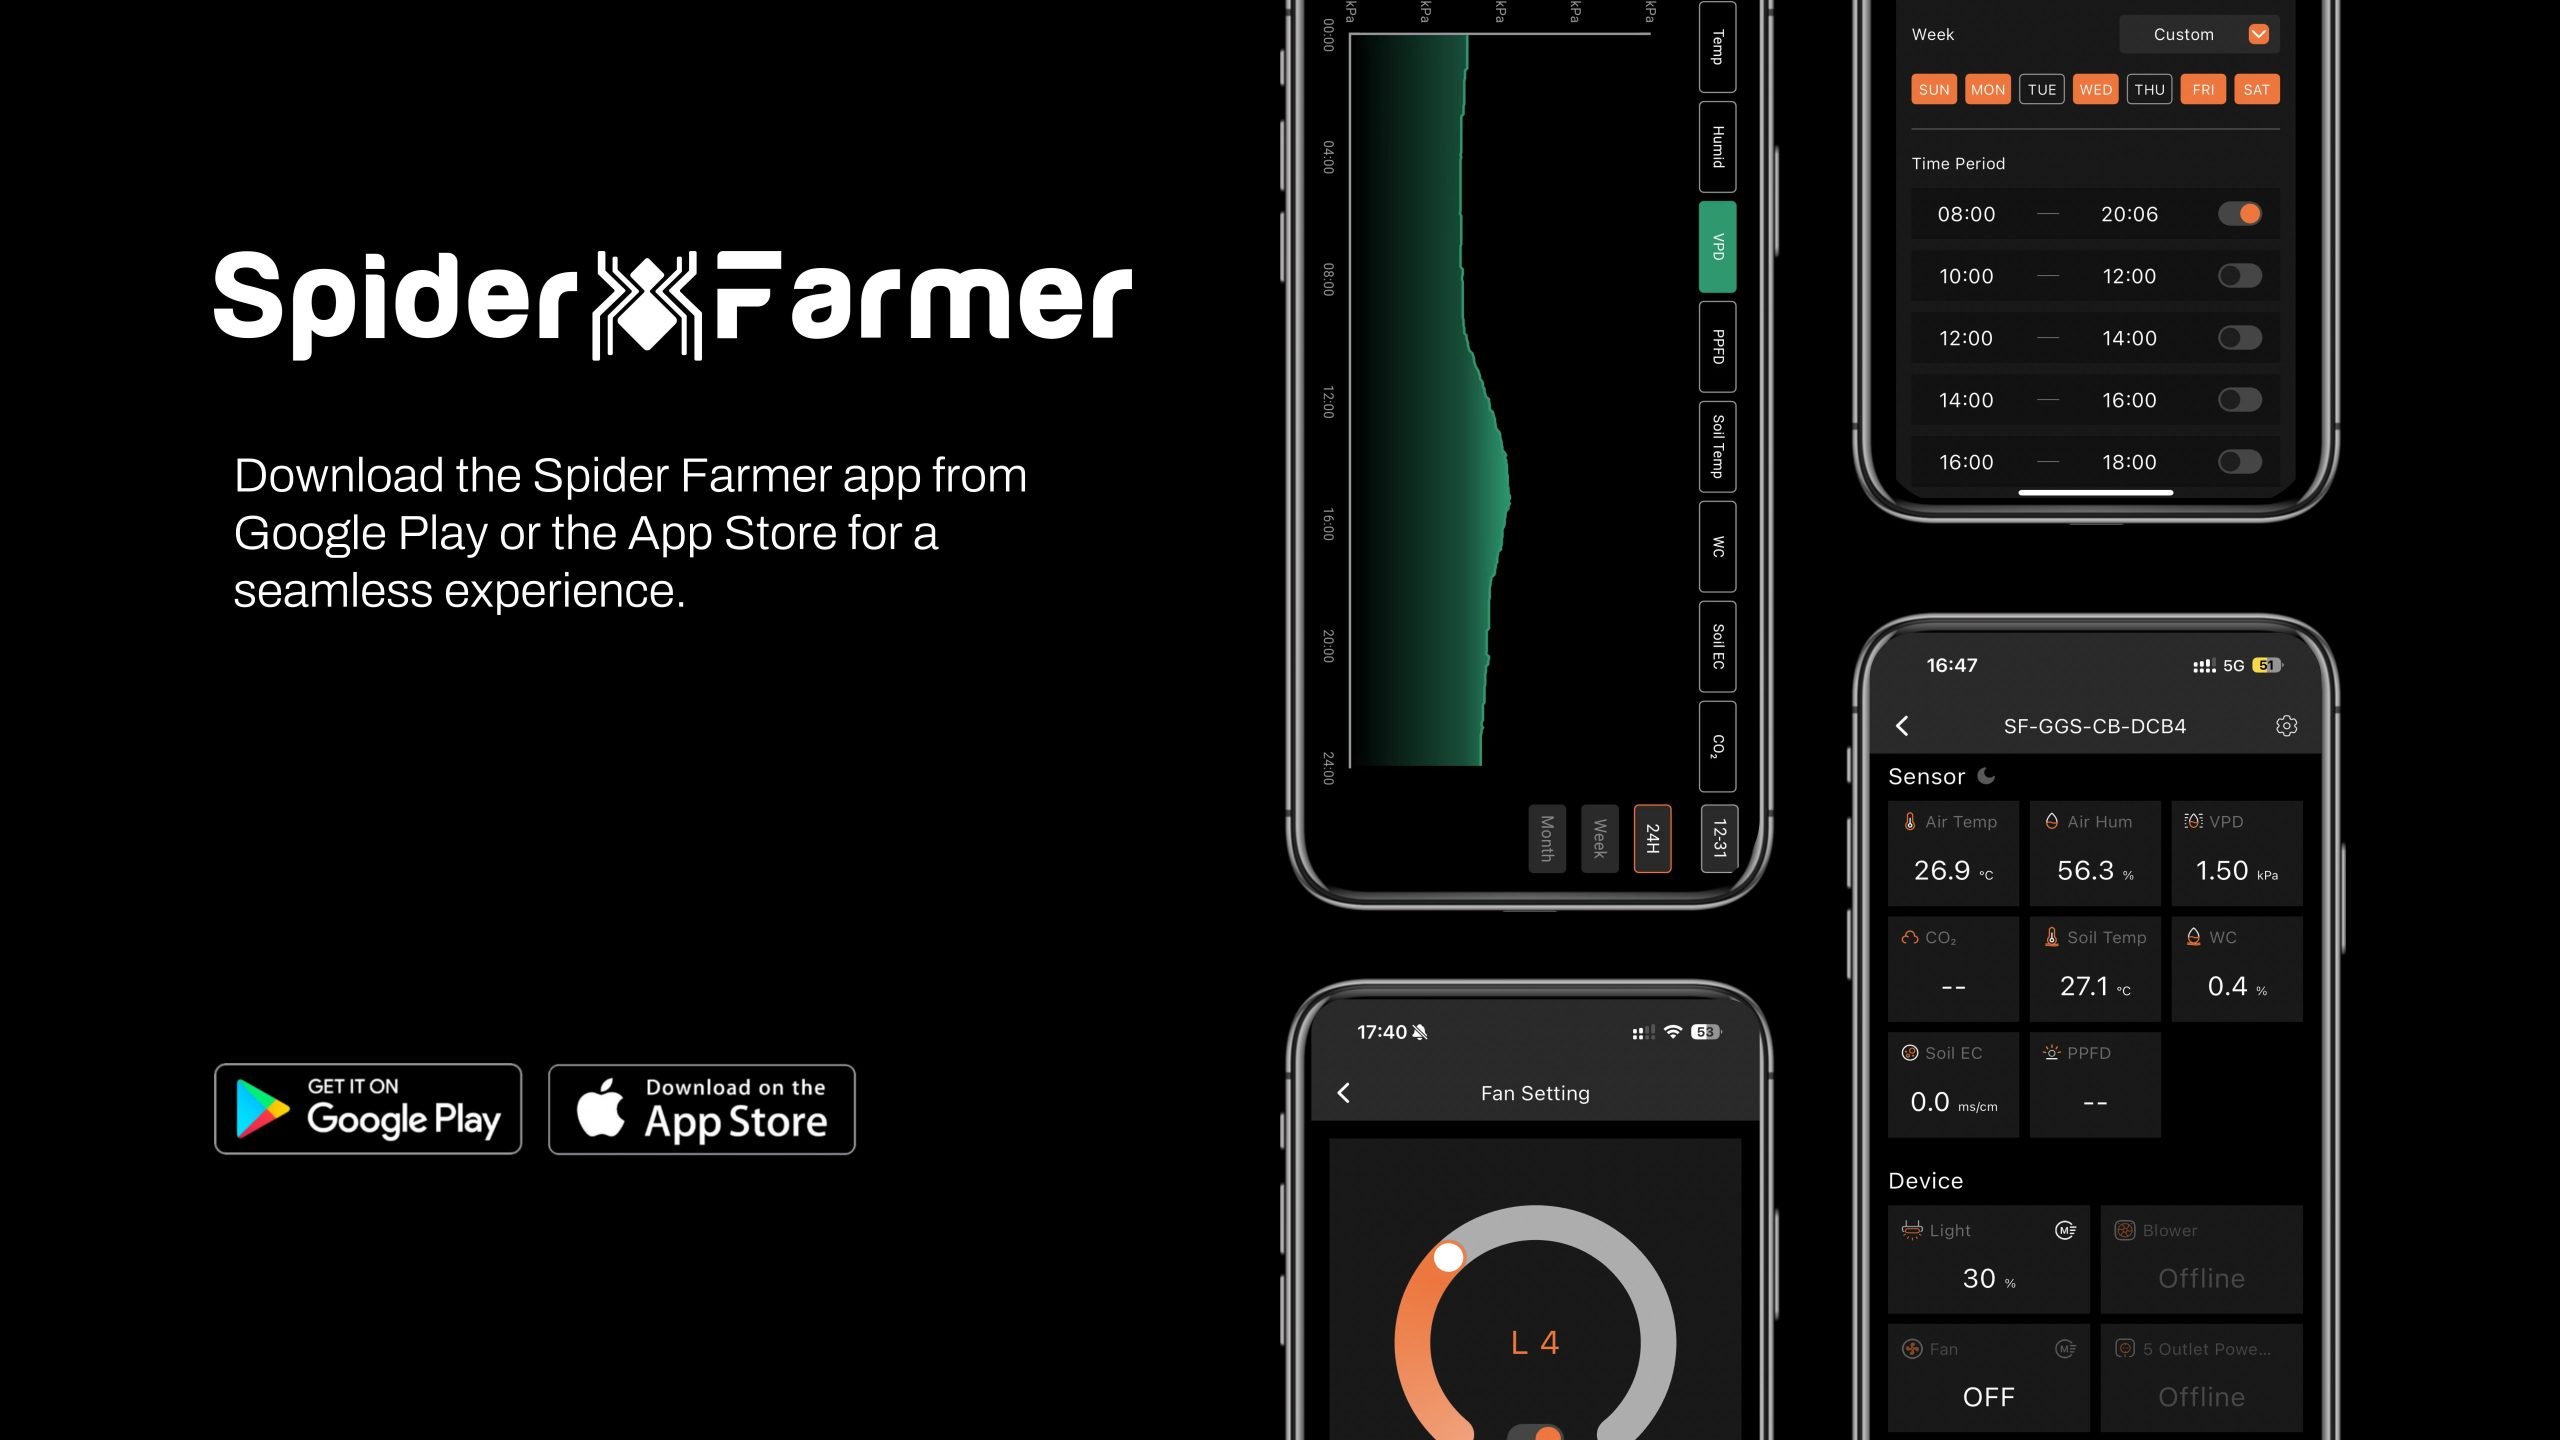
Intelligent Environmental Controller: The GGS Controller seamlessly integrates with temperature, humidity, and light sensors to automate the management of essential growing equipment. Using the Spider Farmer App, you can monitor and control your grow tent from anywhere, anytime.
GGS Temp Humid Light Sensor: Specifically designed to monitor environmental temperature and humidity, this sensor also tracks day/night cycles in the grow tent. (Note: The light sensor for day/night detection is located on the side—please ensure it’s unobstructed for accurate readings.)
Compatible with Multiple Spider Farmer Grow Lights: The GGS Controller works with SF Series (excluding SF1000D, SF300, and SF600), G Series, and SE Series LED grow lights. You can set on/off schedules, adjust brightness, and simulate sunrise and sunset transitions, such as gradually increasing brightness from 8:00-8:30 AM and dimming from 7:30-8:00 PM. (Supports Bluetooth & Wi-Fi remote control.)
Smart Fan & Inline Fan Control: Spider Farmer Clip Fans & Inline Fans with RJ12 Ports: Manage on/off scheduling, standby speed, and oscillation angle with precision. You can also simulate natural wind. Fans without RJ12 Ports: These can be controlled through the GGS AC5 or GGS AC10 Power Strips, ensuring all your equipment is integrated into the smart system.
The kit includes:
1 x GGS controller (with power supply and a wall-mountable metal rail)
1 x GGS temperature and humidity sensor
1 x GGS 2-in-1 adapter (for connecting the lights to the controller)
2 x RJ12 telephone line splitters (for expanding connections)
2.5m RJ12 cables 6pcs (for connecting devices)
0.25m RJ12 cable 1pc (for connecting between telephone line splitters)
4 x hook and loop straps (for organizing cables)
For more information, please check the product’s Description section.
1. What Data Can You See on the Controller?
-
1.1 Time Display:
Quickly check the current date and time in your grow room with ease.
-
1.2 Day/Night Icon:
See at a glance if your grow tent is in its light or dark cycle. A sun icon appears when light is detected, and a moon icon shows during dark periods. This feature allows you to monitor light conditions without opening the tent. Plus, the controller can be managed remotely through the Spider Farmer app, so you can keep tabs on your grow tent even when you're away. (Requires the temperature, humidity, and light sensor included in this GGS controller kit)
-
1.3 VPD and Temperature/Humidity Display:
Get precise readings for temperature, humidity, and Vapor Pressure Deficit (VPD). (Requires the temperature, humidity, and light sensor included in this GGS controller kit; if the sensor is not properly connected, two dashes will appear on the display.Tip: Place the sensor at canopy level in the center of your growing area for the most accurate readings.)
-
1.4 CO₂ Display:
(This kit doesn't include the sensor required to measure that data. Please purchase the GGS Sensor Pro Kit separately.)
With an optional CO₂ sensor, you can directly monitor CO₂ levels, enabling you to optimize CO₂ concentration for faster growth. (Note: This sensor is sold separately and is not yet available in Europe—stay tuned.)
-
1.5 Soil Data Display:
(This kit doesn’t include the sensor needed to measure that data. Only the GGS AC5 Power Strip Kits or GGS AC10 Power Strip Kits includes the relevant sensor.)
Ideal for soil growers, this display shows real-time soil temperature, moisture, and Electrical Conductivity (EC). (Note: This sensor is not included in the GGS controller kit but is part of the GGS power strip kit and is not yet available as a standalone product.)
-
1.6 PPFD Display:
(This kit doesn't include the sensor required to measure that data. Please purchase the GGS Sensor Pro Kit separately.)
Please note: To see PPFD data, you'll need an extra PPFD sensor, which isn’t included in this kit. It’ll be sold separately in the future, but it's not available yet.
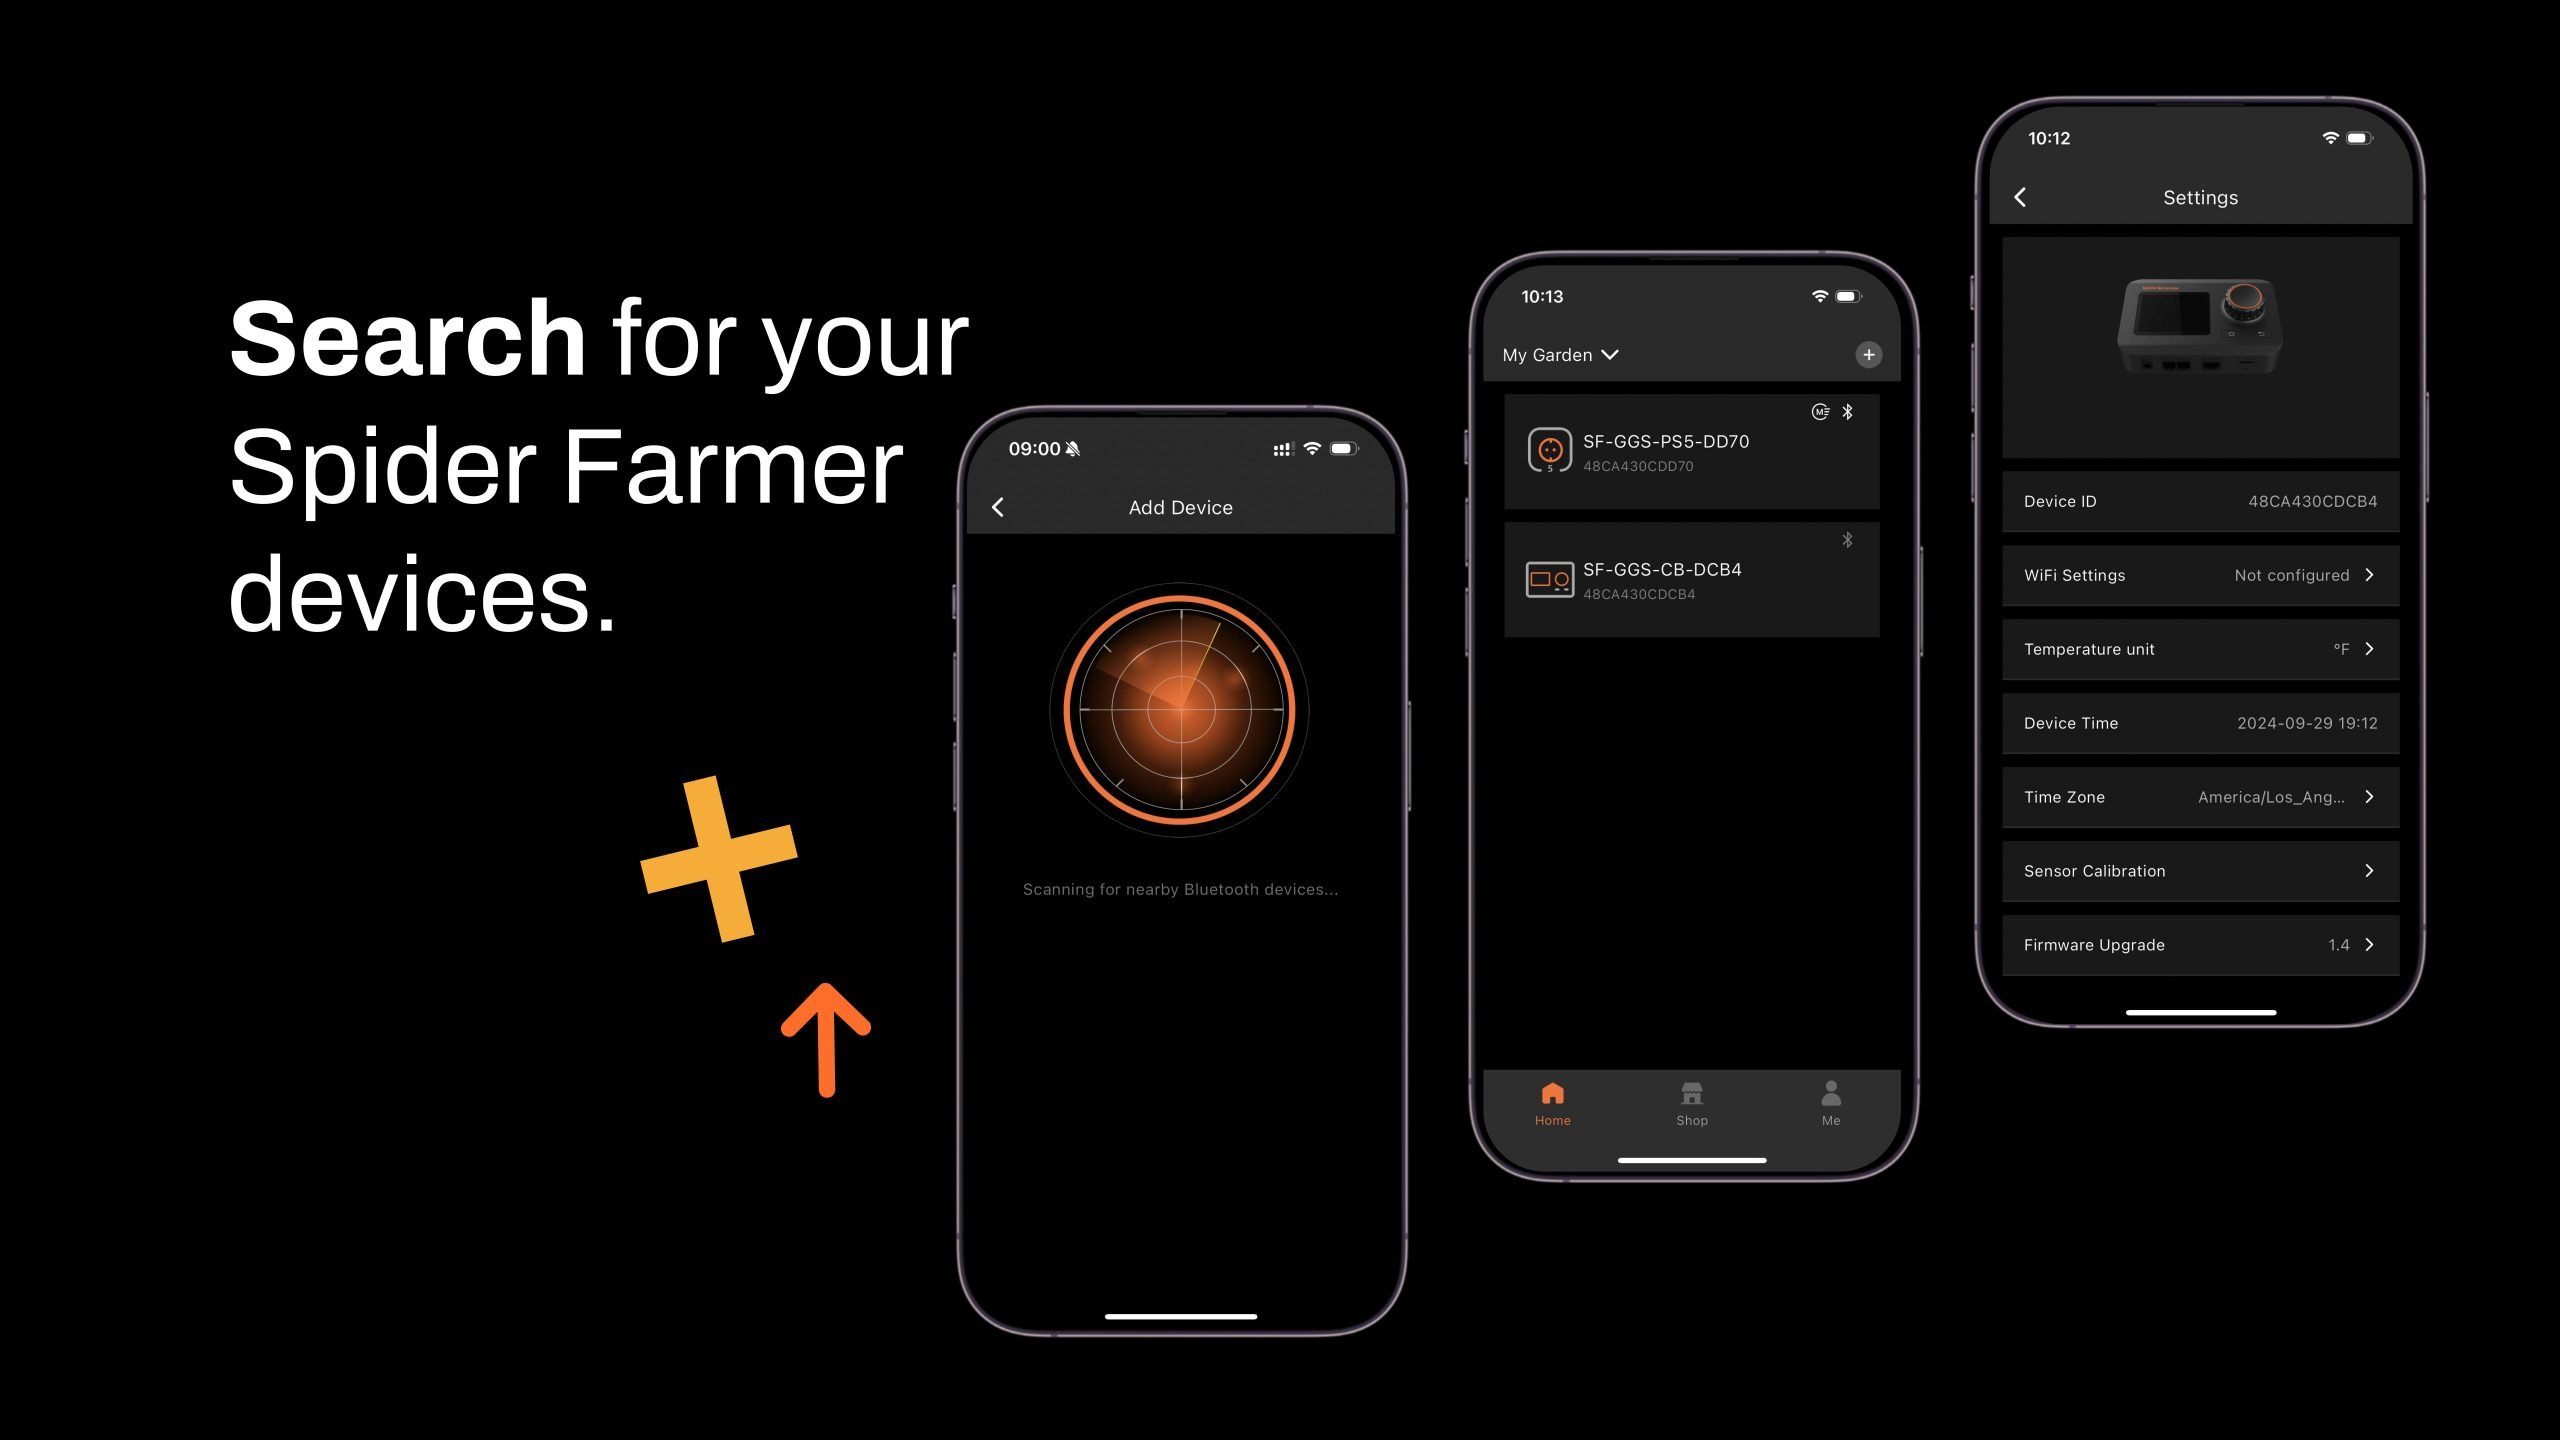
2. Preparations Before Configuring Device Operations
3. How to Control LED Grow Lights (G Series/ SE Series/ SF Series)
(Note: A GGS 2-in-1 Adapter is required to control LED grow lights through the GGS Controller. This adapter is included in the kit.)

-
3.1 Manually Adjust Brightness for Precise Light Control:
- Set the brightness anywhere from 10% to 100%, giving you full control over light intensity at any time. For quick shut-off, setting the brightness to 0% will turn the lights off. Any setting between 0% and 10% automatically operates at 10% brightness.
-
3.2 Automate Your Lighting Schedule:
- 10.2.1 Start and End Times: Easily set specific on and off times for your lights, so your plants get consistent light cycles without manual adjustments.
- 10.2.2 Brightness Levels: Define the exact brightness level for each cycle, ensuring your plants receive optimal light intensity.
-
3.3 High-Temperature Protection for Your Plants and Equipment:
- 10.3.1 Go Dark: Set a high-temperature threshold for dimming. When the ambient temperature reaches this threshold, the lights will automatically reduce brightness to 11% to prevent overheating.
- 10.3.2 Turn Off: Set a higher temperature threshold for complete shutdown. When this threshold is reached, the lights will automatically turn off to protect your plants and equipment.
-
3.4 Sunrise/Sunset Simulation:
Activate this feature to simulate natural light changes, with the brightness gradually increasing at sunrise and gradually decreasing at sunset.
-
- Example: If you set the light schedule from 8:00 AM to 8:00 PM with brightness at 100% and a 30-minute sunrise/sunset setting, the lights will gradually increase from 0% to 100% brightness between 8:00 AM and 8:30 AM. In the evening, starting at 7:30 PM, the brightness will gradually decrease from 100% until the lights turn off completely at 8:00 PM.
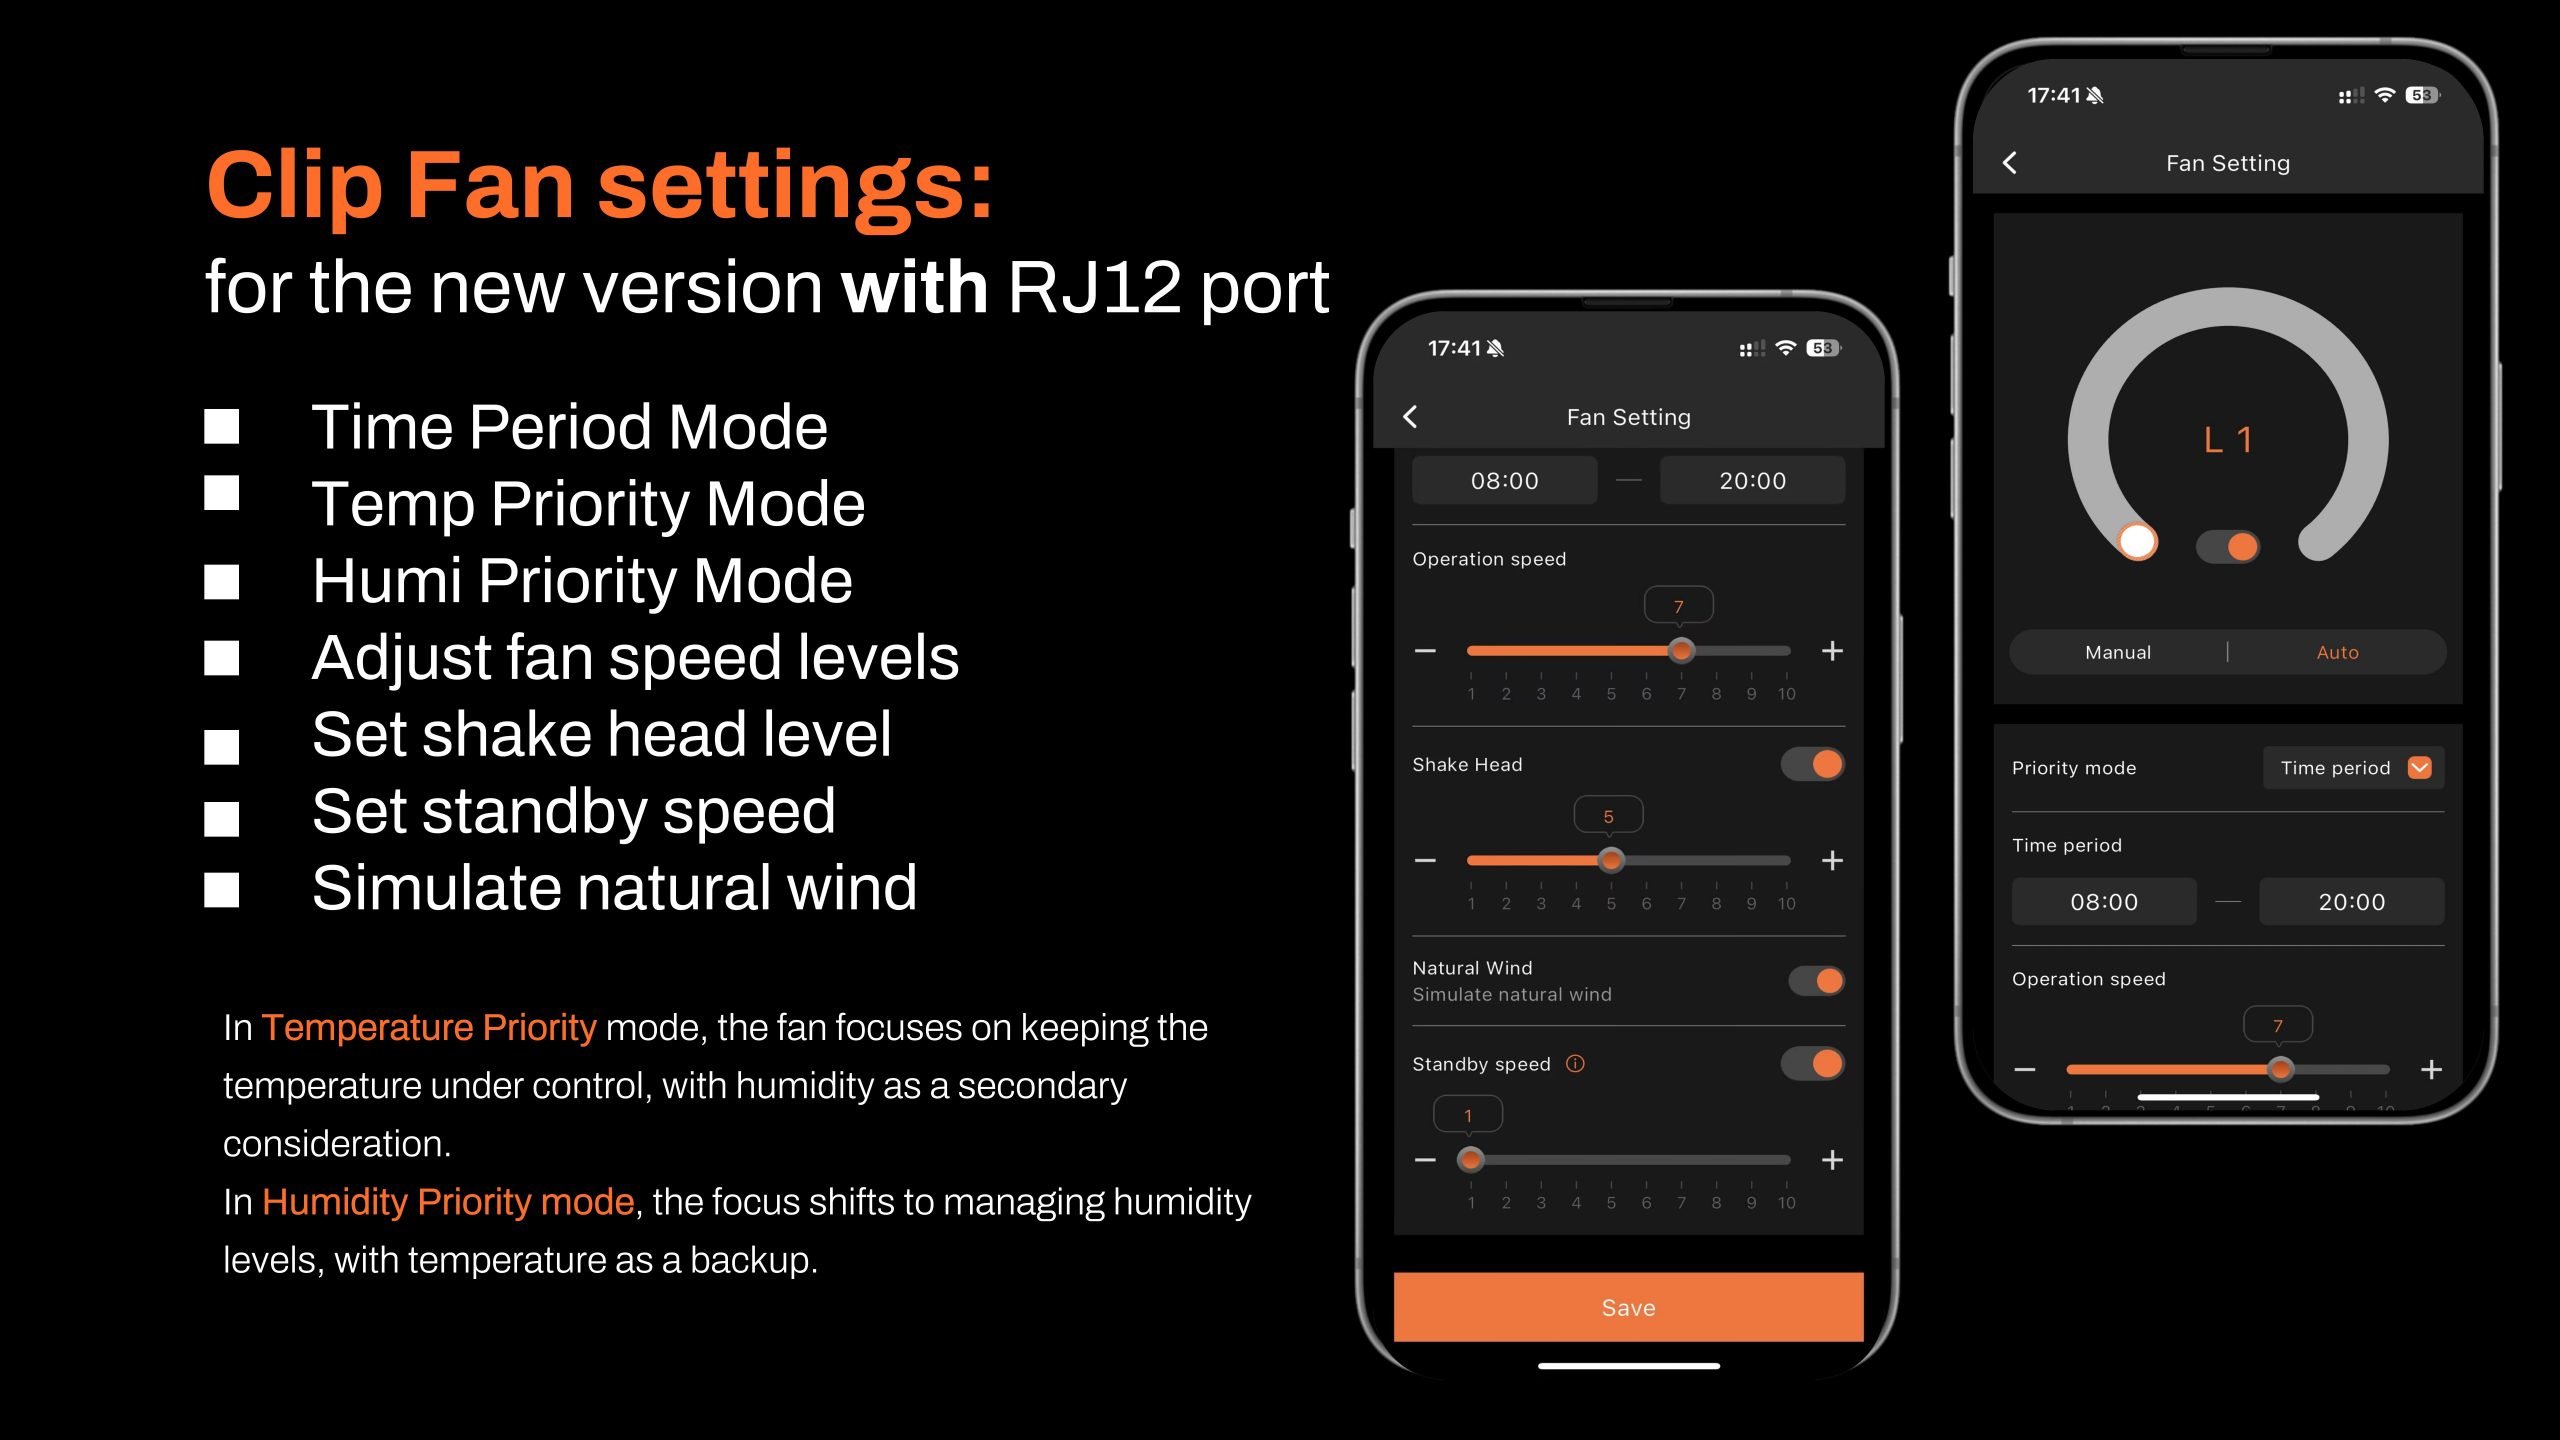
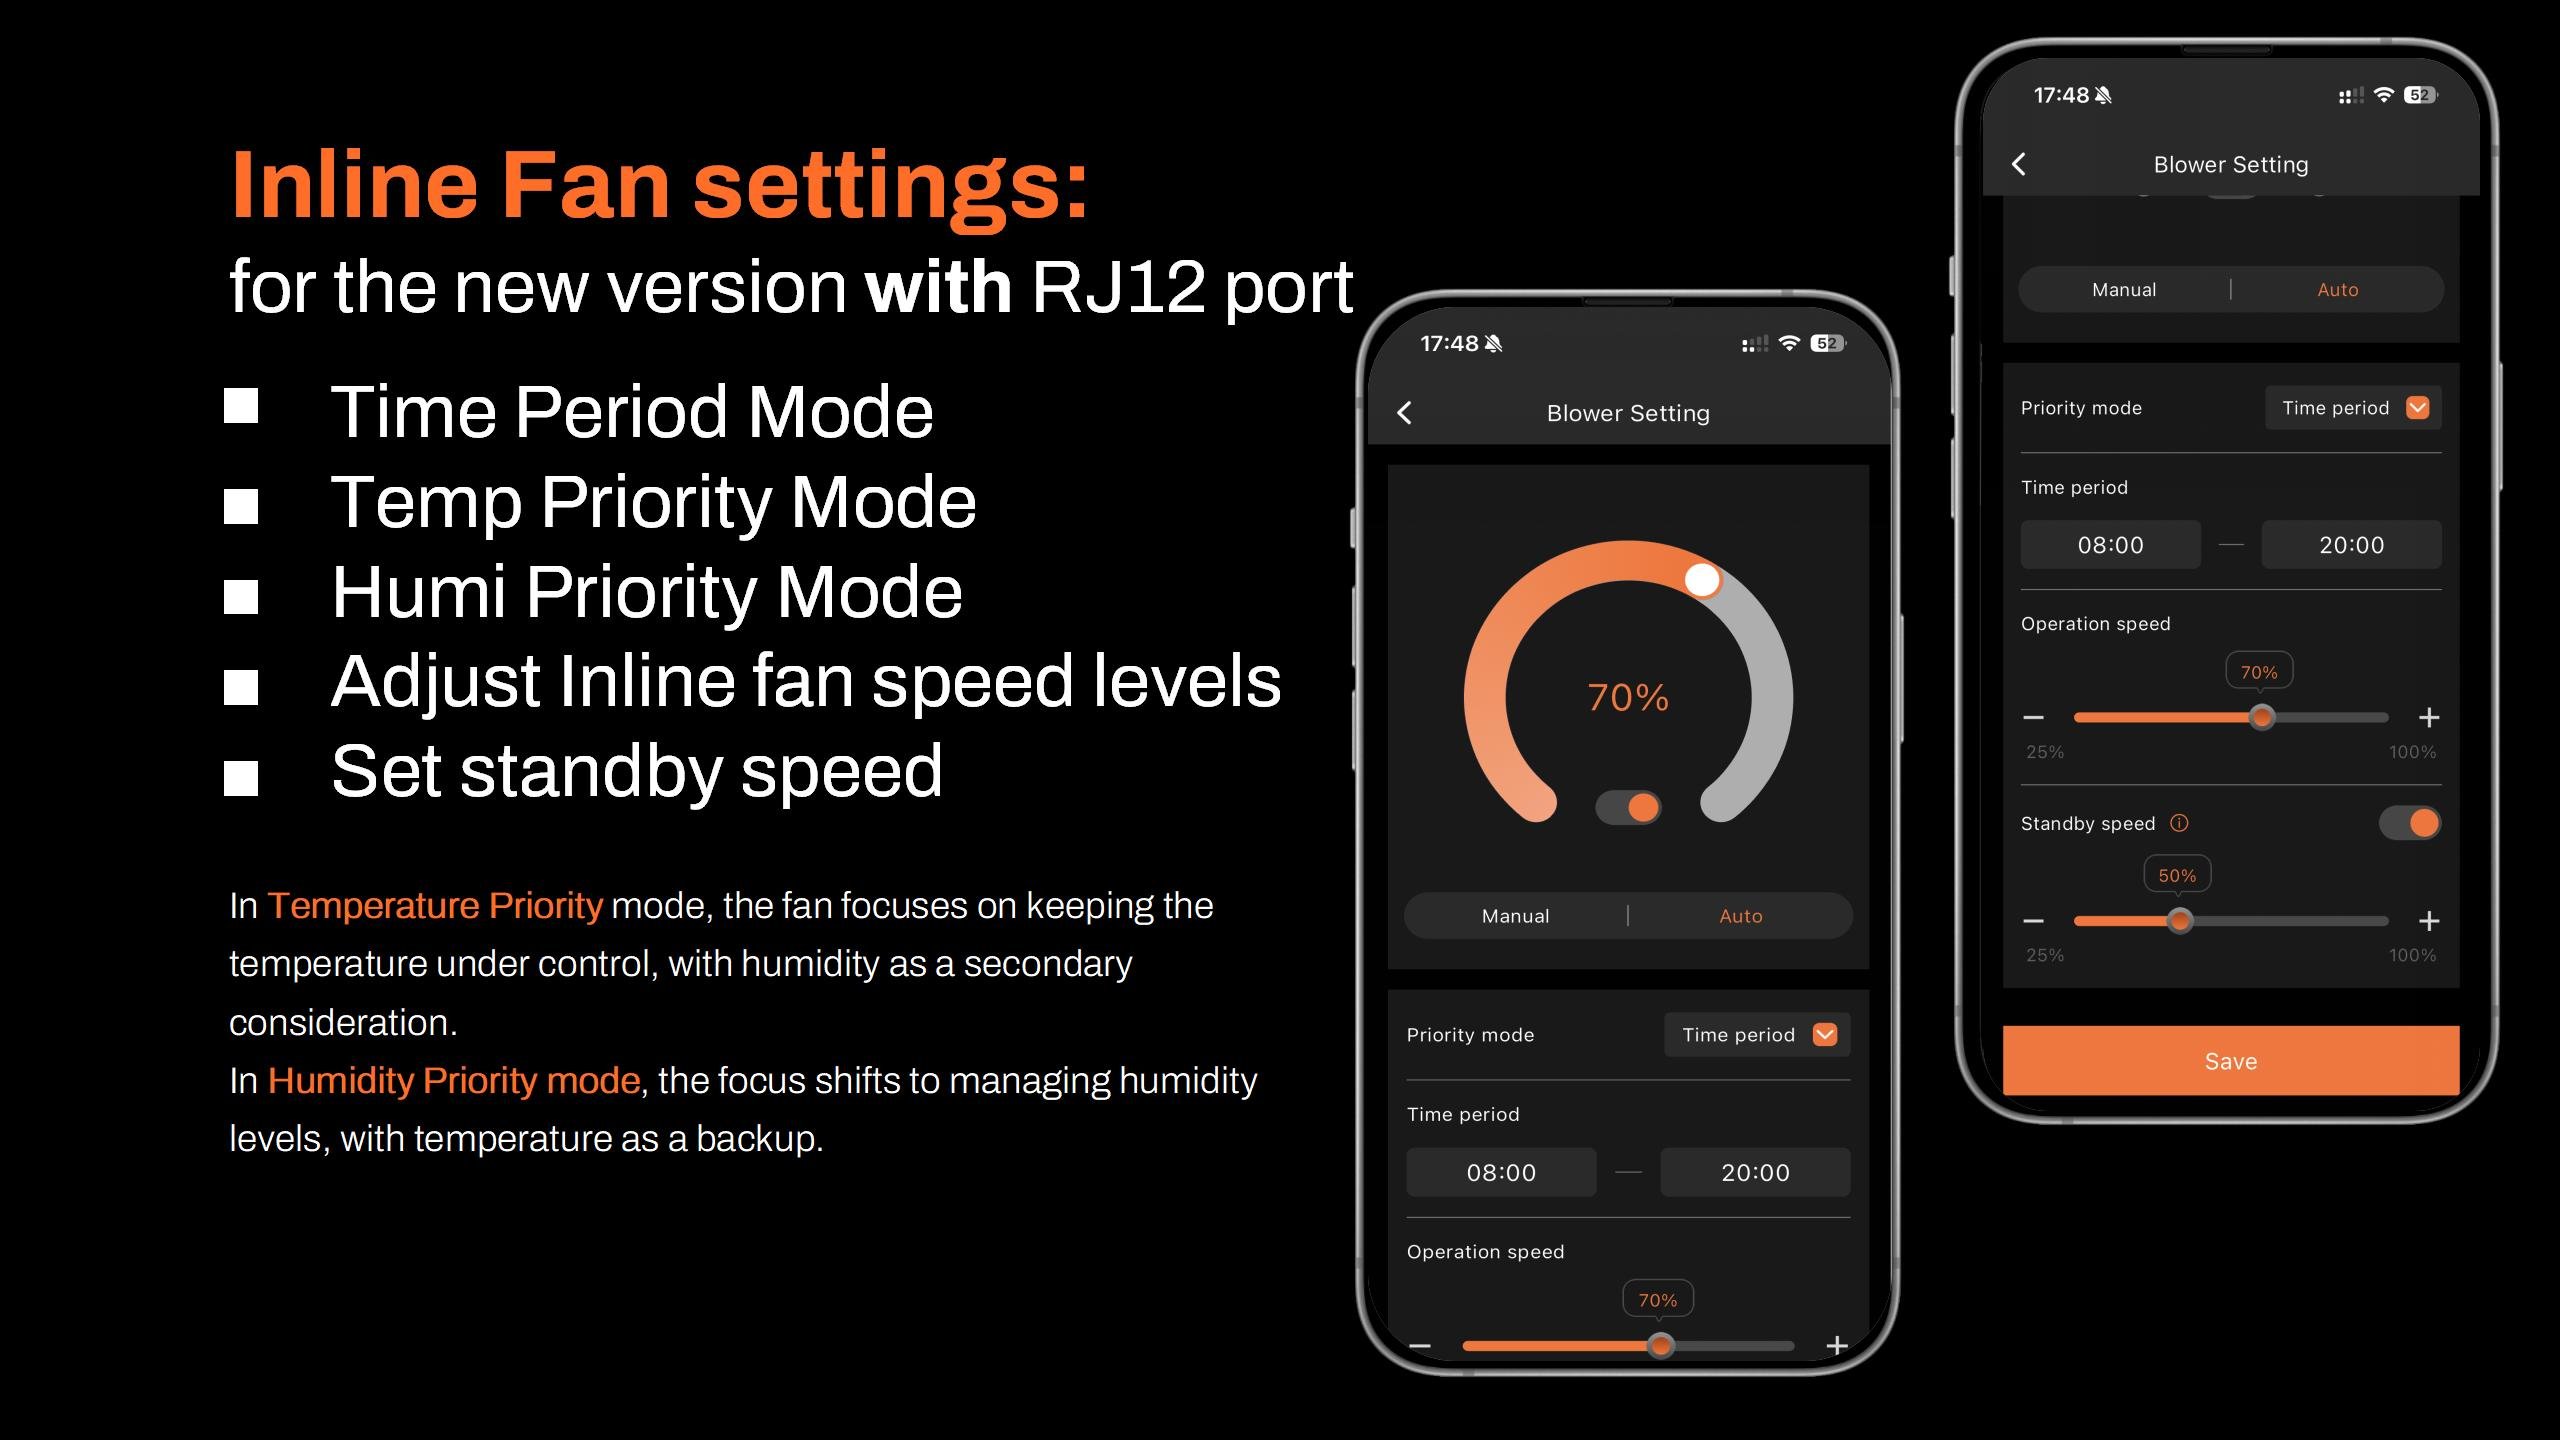
4. How to Control Clip Fans and Inline Fans
Key Steps in the Process:
- If your Inline Fan or Clip Fan does not have an RJ12 port (non-latest version), the GGS series can be compatible with these Clip Fans and Inline Fans without an RJ12 port. However, only the GGS Power Strip can be used. You can plug them into the GGS Power Strip and control them separately through the outlet section in the app. (At this time, the 'Fan (Clip Fan)' and 'Blower (Inline Fan)' options under the 'Device' section will be unavailable.)
- If your Clip Fan or Inline Fan has an RJ12 port, it will be compatible with both the Spider Farmer GGS controller and the GGS Power Strip. You can manage your Clip Fan and Inline Fan through the 'Fan (Clip Fan)' and 'Blower (Inline Fan)' options in the 'Device' section of the controller.
- How to check if your Clip Fan or Inline Fan has an RJ12 port? If you purchased the “Experience the Latest Features - Spider Farmer GGs Controller with Next-Gen Clip Fan & Inline Fan Kits,” both the Clip Fan and Inline Fan in the kit come with an RJ12 port. If you’ve purchased a Clip Fan from us before, simply check the body of the fan for an RJ12 port. If you’re buying the Clip Fan from our website, make sure to check the product description and images on the product page to confirm if it includes an RJ12 port. Currently, except for the kit mentioned above, all individually sold Inline Fans or Inline Fan kits do not come with an RJ12 port.

-
-
About using the GGS AC5 Power Strip or GGS AC10 Power Strip in combination with the GGS Controller
-
Why Use the GGS AC5 Power Strip Along with the Controller?
-
For Those Who Prefer Traditional Control: The controller has physical buttons and knobs, making it easy for customers who prefer hands-on control without needing to rely on a smartphone. You can operate lights and the power strip just like traditional equipment, ensuring simple and reliable use.
-
Multi-User Control: The controller allows multiple users to operate the setup without each person needing their own smartphone. In a household setup, for example, anyone can quickly operate the controller, making it convenient and efficient.
-
Local Control: When the network is unstable, there’s a delay, or a phone isn’t convenient to use, the controller offers instant, local control. This option ensures smooth operation without relying on external connections.
-
-
5. Using the GGS AC5 Power Strip/GGS AC10 Power Strip for Full Control and Automation
Plug your devices into the GGS Power Strip, and with sensors installed on the power strip, you can control and automate each device as needed. The GGS AC5 Power Strip has 5 outlets, GGS AC10 Power Strip has 10 outlets, each of which can be controlled through the controller and app with specific settings for time and mode:
-
-
5.1 Time Period Mode:
-
Set specific on/off schedules for each outlet. Choose exact times for each day of the week or create recurring daily schedules. This allows you to provide consistent light, air circulation, or other resources precisely when your plants need them.
-
-
-
5.2 Time Cycle Mode:
-
Set power cycles to control when your devices turn on and off throughout the day. For example, you could set a fan to run for 1 hour, turn off for another hour, and repeat the cycle as needed. This is ideal for managing airflow, lighting intervals, or other timed needs in your grow room.
-
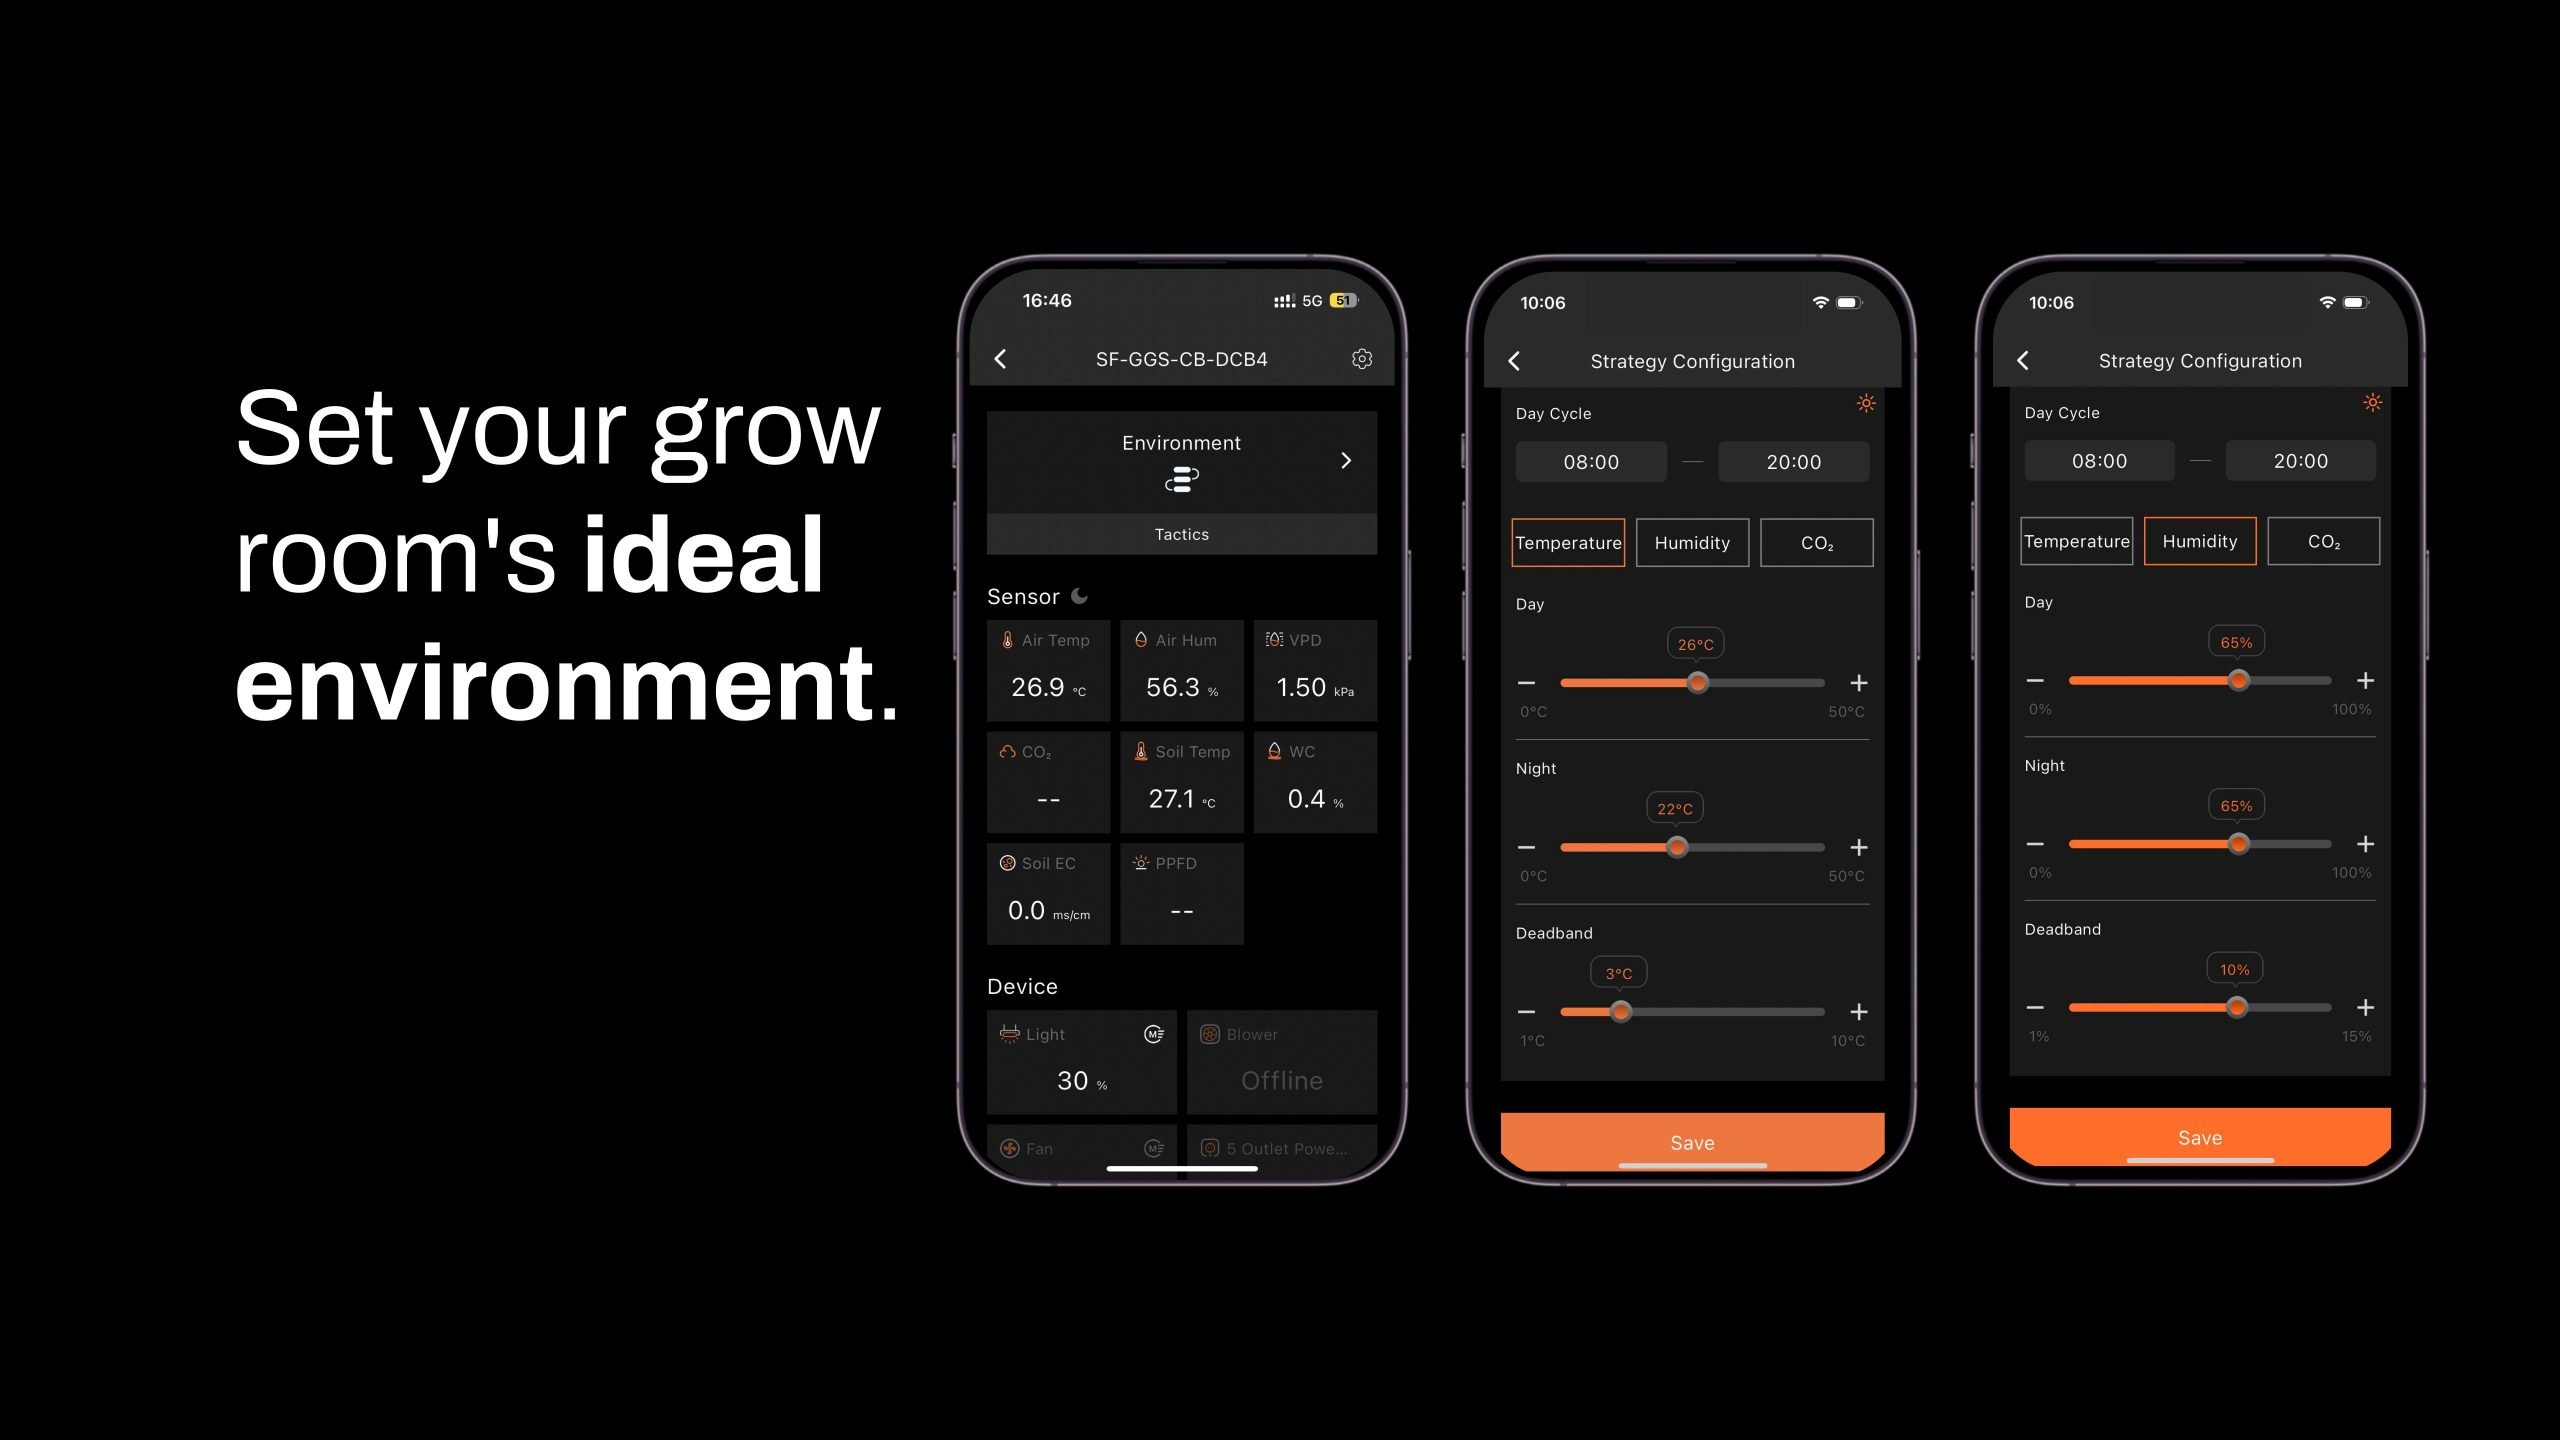
5.3 Temperature Mode:
- Control devices based on temperature. For example, if you plug a Clip Fan into an outlet set to Temperature Mode and specify it as a cooling device, the fan will automatically turn on when the temperature exceeds your target—keeping the environment stable without manual adjustments.
-
5.4 Humidity Mode:
- Easily manage humidity levels. If you connect a humidifier, set the outlet to Humidity Mode, and specify it as a humidifying device, the outlet will power on to increase humidity when levels drop below your desired range. This way, you can maintain optimal humidity for your plants without constant monitoring.
-
5.5 CO₂ Mode:
- Manage CO₂ levels by connecting a CO₂ device. Set the outlet to CO₂ Mode and specify whether it should add or vent CO₂. The outlet will activate based on your target CO₂ levels, giving you precise control over your grow room environment.
-
6. Other Settings
-
6.1 Sensor Calibration
-
6.1.1 Temperature Calibration: Adjust the temperature offset from -10°C to +10°C in 0.1°C increments.
-
6.1.2 Humidity Calibration: Adjust the humidity offset from -20% to +20% in 0.1% increments.
-
6.1.3 CO₂ Calibration: Adjust the CO₂ concentration offset from -200 ppm to +200 ppm in 10 ppm increments.
6.2. Screen Timeout
Set the controller screen to turn off after 1-10 minutes of inactivity, or select “Never” to keep it continuously on.
7. Keytone
Enable or disable button sounds.
8. Firmware Update
Upgrade firmware via SD card or over the network.
9. Factory Data Reset
Restore the device to its original factory settings.
